
Pitched Roof Guide | How to Calculate Roof Pitch in Degrees

How To Work Out The Pitch Of A Pitched Roof In Degrees

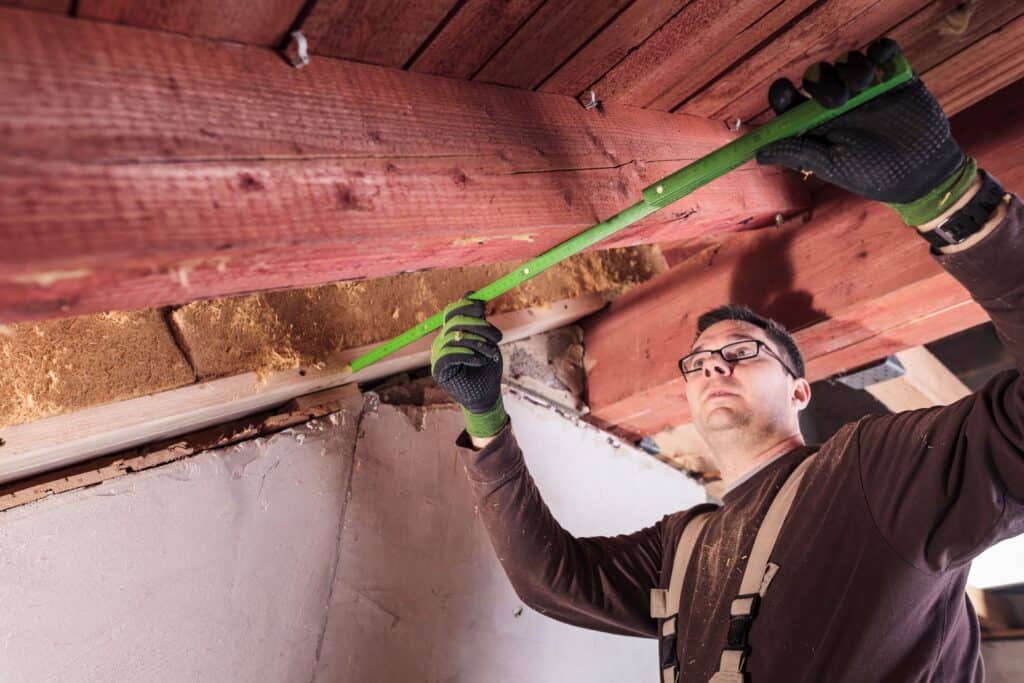
man measuring roof

Introduction to Roof Design

Understanding roof pitch forms a valuable foundation for any building project, and it can be helpful to recognise how this angle directly influences both function and visual appeal. Roof pitch refers to the angle or slope of a roof, which affects water runoff, snow management, and compliance with building regulations. Roofs can be categorised into pitched roofs and flat roofs, with pitched roofs being the most common type in residential buildings. A pitched roof is defined as having two or more sides that slope towards a peak, while a flat roof is typically considered to have a slope of less than 10 degrees.

Steeper angles prove particularly beneficial in regions that experience heavy rainfall or snow, as they allow water and snow to move off the surface more efficiently, helping to shed snow and reduce the likelihood of leaks or structural complications. It is also valuable to consider that lower-pitched roofs may be more suitable for milder climates, though they can become vulnerable to water accumulation if the design lacks proper attention to drainage. The suitability of different roofing materials and pitches depends on specific weather conditions and regional requirements.

To calculate roof pitch, measure the rise (vertical height) and run (horizontal distance) of the roof, then use the formula: pitch = rise/run. The span, which is the horizontal distance across the roof, is a key measurement for accurate roof calculations. Roof pitch can be expressed as a ratio (x:12), where x is the rise in inches for every 12 inches of run, or in degrees using the arctangent of the rise/run. Accurate roof calculations are essential for material estimation and safety.

Calculating roof pitch can be approached through specialised calculators or by manually measuring the rise and run of the structure. Whether planning a new construction or modifying an existing roof, it remains essential to understand the angle and slope characteristics, as this knowledge helps ensure long-term durability and effective water management. Seeking expert advice can help homeowners make informed decisions about roof pitch and calculations.

Get in touch today for your free, no-obligation quote!

How to measure roof pitch in the UK

The pitch of a roof is the angle or slope at which the roof is built, and if you have two or more sides of your roof that meet in a peak at the top of the structure, you have a pitched roof. In the UK, over 93% of properties have a pitched roof, meaning that if you are unsure what type of roof you own, it is more than likely a pitched one.

To determine roof pitch, you need to measure from the peak to the edge (eaves) of the roof, and accurate run measurements are essential for this process.

Measuring the pitch of your roof is important if you are carrying out repairs or work on your roof. From working out the number of roofing materials you will need to determining how water drains away from the property, calculating the pitch of your roof is something that is very important when it comes to roofing repairs or extensions. When measuring, be sure to take your measurements from the edge (eaves) of the roof to the peak, as this will give you the correct run measurements needed to accurately determine the roof pitch.

However, if you have never worked out how to calculate roof pitch before, it can seem difficult to know where to even start. Fortunately, as one of the leading roofing companies in Melksham, we have years of experience in calculating roof pitch. For this reason, we have created this comprehensive guide on how to work out the pitch of your roof with two different easy-to-follow methods.

Need help working out the pitch of your roof? Look no further than AL King Roofing. We are the leading roofing company and roofing merchants in the Wiltshire area. Visit our merchant centre in Melksham or call us on 01225 705918.

Accurate Measurements

Calculating the pitch of a roof tends to benefit from careful consideration of measurement accuracy. It can be helpful to focus on obtaining precise readings for both the vertical rise and the horizontal distance, which serves as the foundation for reliable calculations. A tape measure combined with a spirit level often provides the clarity needed for dependable measurements, though it may be valuable to recognise that even minor inaccuracies in capturing the rise or run can influence the overall results. This consideration becomes particularly relevant when selecting appropriate roofing materials or assessing structural requirements.

 For those seeking to minimise potential errors, a roof pitch calculator can prove beneficial in converting measurements into the correct pitch angle with greater efficiency. It tends to be worthwhile to verify measurements thoroughly, as this approach helps ensure that the roof pitch calculations achieve the level of accuracy that the project requires.

Why is a roof pitch important?

The angle of a roof pitch plays a pivotal role when it comes to choosing your next roof or making necessary roofing repairs. Each type of roofing material requires a minimum recommended pitch angle in order for the material to be installed safely and effectively on your roof. Building codes often specify a minimum roof pitch to ensure proper drainage and structural safety.

If you try to install a roofing material outside of its recommended roof pitch, it can compromise the stability of the roof and be a major safety hazard to people living inside and near the property. In snow-prone regions, a higher minimum roof pitch, often referred to as a steeper pitch, is required to prevent snow accumulation and reduce the risk of roof collapse. Roofs with a pitch of 4:12 are generally sufficient for water runoff but may not be suitable for areas with heavy snowfall, where steeper pitches are preferred. The steeper the roof pitch, the quicker rainwater and snow are discharged off the tiles, reducing the chance of leaks or pooling.

For this reason, it is pivotal that you calculate the pitch of the roof accurately to ensure you choose the correct materials for the project at hand.

Contact us today for expert roofing advice you can trust!

Minimum Pitch Requirements

Understanding the appropriate pitch for a roof begins with considering the type of roofing material you plan to use alongside the local building regulations that apply to your area. It can be helpful to know that for most roofing materials, a pitch of 3:12 works well as a starting point, where the roof rises 3 units for every 12 units of horizontal run. However, it is valuable to recognise that some materials naturally require a steeper angle for proper installation and long-term performance. Take slate tiles, for instance, which tend to work best with a minimum pitch of 4:12, while asphalt shingles can adapt respectfully to roofs with a pitch as gentle as 2:12. It proves beneficial to consult the manufacturer’s guidelines and review local building codes, as this approach helps ensure your roof meets the requirements that work best for your chosen material. When you focus on achieving the appropriate minimum pitch, it creates better drainage and naturally extends the lifespan of your roof, building a stronger foundation for your home’s protection over time.

How to work out the pitch of the roof in degrees

This is a roof pitch step-by-step guide to help you accurately calculate roof pitch in degrees.

As a general rule of thumb, the steeper the roof slope, the higher its pitch. However, it is still necessary to work out and calculate the roof pitch for construction accuracy and proper drainage.

To begin, gather a measuring tape, a spirit level, and a scientific calculator (recommended for using scientific functions like arctangent). Then head to your loft space.

When measuring in the loft, you may need to measure from the ceiling joist up to the rafter to get accurate rise and run values. The rise of the roof is the vertical distance the roof rises for every horizontal foot of the roof, and the run is the horizontal length that spans between the peak of your roof and the wall. These measurements are essential for determining the rafter length and the length of rafters needed for your project.

  1. Measure the run of the roof with a tape measure (the horizontal length that spans between the peak of your roof and the wall).
  2. Next, work out the rise by using a tape measure. The rise is the height of your apex above the wall structure, often measured from the ceiling joist to the rafter.
  3. After this, you will need to calculate the tangent by dividing the rise by the run (rise ÷ run = tangent). This forms a right-angle triangle, with the rise and run creating the two sides at right angles to each other.
  4. From here, use scientific functions on your scientific calculator to convert the tangent to degrees. The arctangent (inverse tangent) function is commonly used for this purpose. The formula is: Pitch Angle (in degrees) = arctan (rise ÷ run)
  5. Plug the rise and run values into the arctangent function on your calculator to find the pitch angle in degrees. The result will give you the pitch angle of the roof in degrees.

Note: For a flat roof, the pitch is very low, but even a flat roof is not completely flat; a minimal pitch (such as 0.5/12) is required for proper drainage and to prevent water pooling. Technically, a flat roof is any roof with a pitch less than 10°, and flat roofs must not be completely flat to avoid structural issues.

Our example:

  1. Measure the Span (Run) of the Roof: If the span of the roof is 20 feet (the horizontal distance across the roof from wall to wall), this is a key measurement for calculating roof pitch. Accurate span measurements are essential for determining the correct rafter length needed for your roofing project.
  2. Work out the Rise: Let’s say the height of the apex above the wall structure (the rise) is 6 feet.
  3. Calculate the Tangent: Divide the rise by the span (run) to find the tangent: 6 ÷ 20 = 0.3
  4. Use the arctangent function to convert the tangent to degrees: Pitch Angle (in degrees) = arctan(0.3)
  5. Use a Scientific Calculator: Plug the value into a scientific calculator. Press the scientific function “arctan” or “tan^-1” and input 0.3.
  6. Finalise the Calculation: So, the pitch of this roof is approximately 16.70 degrees. This angle, along with your span measurement, can be used to determine the correct rafter length for your roof.

Get in touch now for tailored, bespoke roofing advice crafted just for you!

How to work out roof pitch as a ratio

Ratios are widely used in construction to describe roof pitch and provide an easier understanding compared to a percentage. For this reason, you may want to work out the roof pitch as a ratio instead.

Similar to working out the percentage of your roof pitch, you will first need to make sure you have a measuring tape, spirit level, a calculator and head to the loft of your property.

Again, you will need to calculate the rise and run of the roof to understand the pitch ratio.

  1. First, you need to measure the rise. This is the vertical distance from the bottom of the roof to the highest point (ridge) of the roof.
  2. Next, measure the run. This is the horizontal distance from the bottom of the roof to the point where the rise measurement ends.
  3. Finally, calculate the pitch ratio. Divide the rise by the run to get the pitch ratio. This will give you a ratio such as 4:12, where the first number represents the vertical rise and the second number represents the horizontal run.
    For example, if the rise of the roof is 4 feet and the run is 12 feet, the pitch ratio would be 4:12.

If you have the measurements in different units (e.g., inches instead of feet), ensure they are in the same units before performing the calculation.

Common Roof Pitches

When considering roof pitches for your home, it can be helpful to understand that they vary widely depending on the region, climate, and architectural style you’re working with. In the UK, the standard pitch for most residential roofs typically falls between 25° and 40°, which helps manage water runoff effectively. This range tends to provide a thoughtful balance between visual appeal and practical function. It’s worth noting that steeper roofs are often found in areas where heavy snowfall is a concern, as the increased angle helps encourage snow to slide away naturally, reducing the burden of excessive weight and potential structural issues. In contrast, low pitch roofs, those with a minimal angle, typically as low as 15°, are more commonly chosen in regions where the weather tends to be milder and snow accumulation is less of a worry. Roofs with a slope below 10° are generally classified as flat roofs. Some of the most frequently selected roof pitch ratios include 4:12, 5:12, and 6:12, each offering distinct advantages that can be matched to your particular circumstances. Taking time to choose the right pitch for your roof helps ensure it can handle the local weather patterns while enhancing the overall character of your home’s design.

Safety Considerations

Effective roof work begins with a clear understanding of safety requirements, as most projects involve specific risks that need careful management. A helpful starting point is to ensure you have optimised safety equipment that focuses on maximising protection and minimising accident potential, such as a sturdy ladder and harness that guide your movements rather than restrict them. It can be helpful to analyse the structural integrity of your roof and assess how it will support your weight during the work. This allows safety decisions that are based on observable conditions rather than assumptions about the roof’s capability. 

If you find yourself uncertain about measuring or determining roof pitch accurately, testing your approach with professional guidance can often reveal important considerations that might otherwise be missed. Professional roofers tend to appreciate thorough preparation more than rushing through calculations, and their expertise helps ensure your measurements move through the process at a steady pace without compromising accuracy. By focusing on systematic safety measures, proper assessment, and expert consultation when needed, your roofing project becomes more reliable and creates a stronger foundation for long-term home protection that adapts well to various weather conditions over time.

Conclusion

In conclusion, calculating the pitch of your roof can be a complex and confusing task; however, hopefully, you now have a more comprehensive idea of what this includes and the reasons for it. Figuring out the pitch of your roof is useful for any work that is being done to your roof, from roof repairs to tile replacements. If you need help calculating the pitch of your roof and live in the Melksham area, speak to a member of the team today on 01225 705918.

If you live in the Melksham, Bath or Bristol area, here at A L King Roofing, we provide a reliable, affordable and high-quality roof repair service. Originally starting in 1979, A L King Roofing has over 40 years of experience in the roofing industry, from repairs to new roof installations

Furthermore, we even provide a selection of high-quality roofing materials such as different roofing shingles and replacement shingles, which you can find in our roofing merchants centre in Melksham. 

Speak to a member of the team on 01225 705918 and discuss all your roofing requirements.

Menu
  • Repair / Small Works Enquiries

    • Merchant Enquiries

      • Contractor Enquiries

        • Enquire Today